Workspace Environments
Manage different environments within your workspace to separate development, testing, and production data. Users can specify environments that match their workflow, such as Dev, UAT, or Production. Environments allow you to safely test features and configurations before deploying to production.
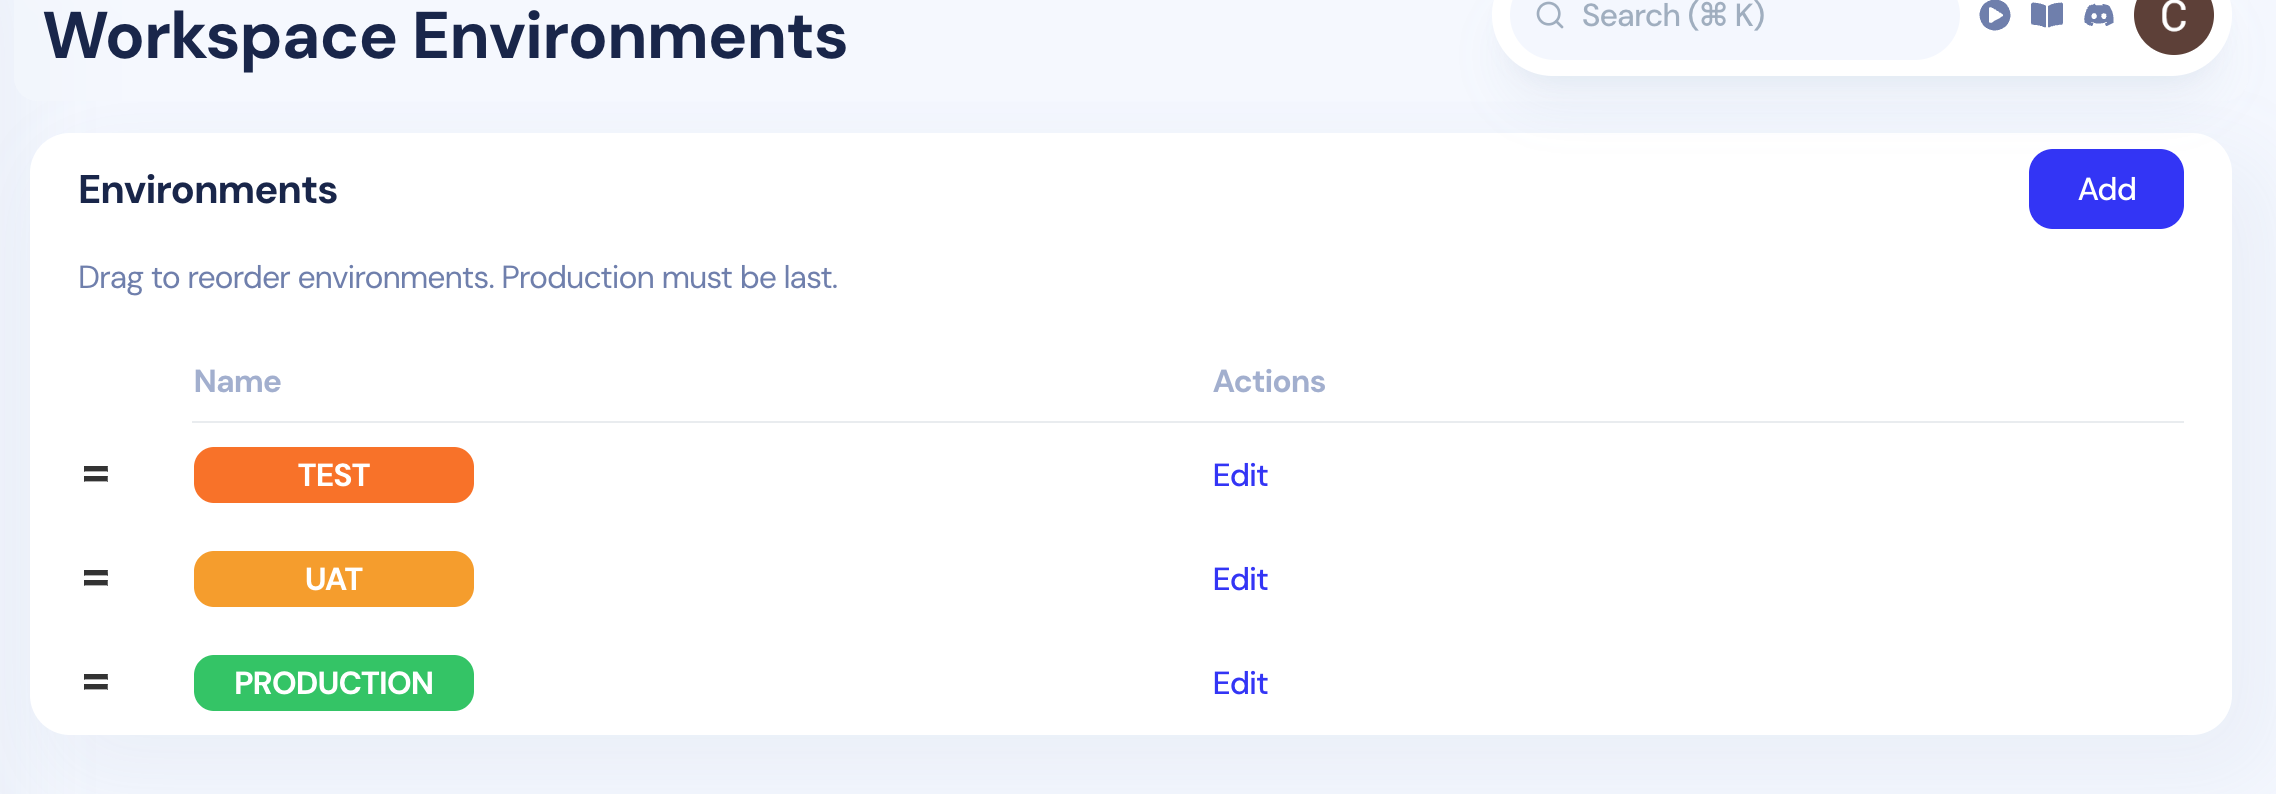
Managing Environments
Configure and organize your workspace environments using the Environments management interface:
Custom Environments
You can create additional environments based on your specific needs, such as:
- Staging: For final pre-production testing
- QA: For quality assurance testing
- Demo: For demonstration purposes
- Integration: For integration testing
Environment Management Features
Adding New Environments
- Navigate to the Workspace Environments section
- Click the blue "Add" button in the top-right corner
- Enter the environment name and configuration
- Set the appropriate environment type and settings
Reordering Environments
- Drag and Drop: Use the drag handle icons (three horizontal lines) to reorder environments
- Production Rule: Production environment must always be last in the order
- Visual Feedback: Drag handles provide clear indication of reorderable items
Editing Environments
- Click the blue "Edit" link under the Actions column for any environment
- Modify environment settings, configurations, and permissions
- Update environment-specific variables and integrations